Spooky Season Wall Hanging Tutorial
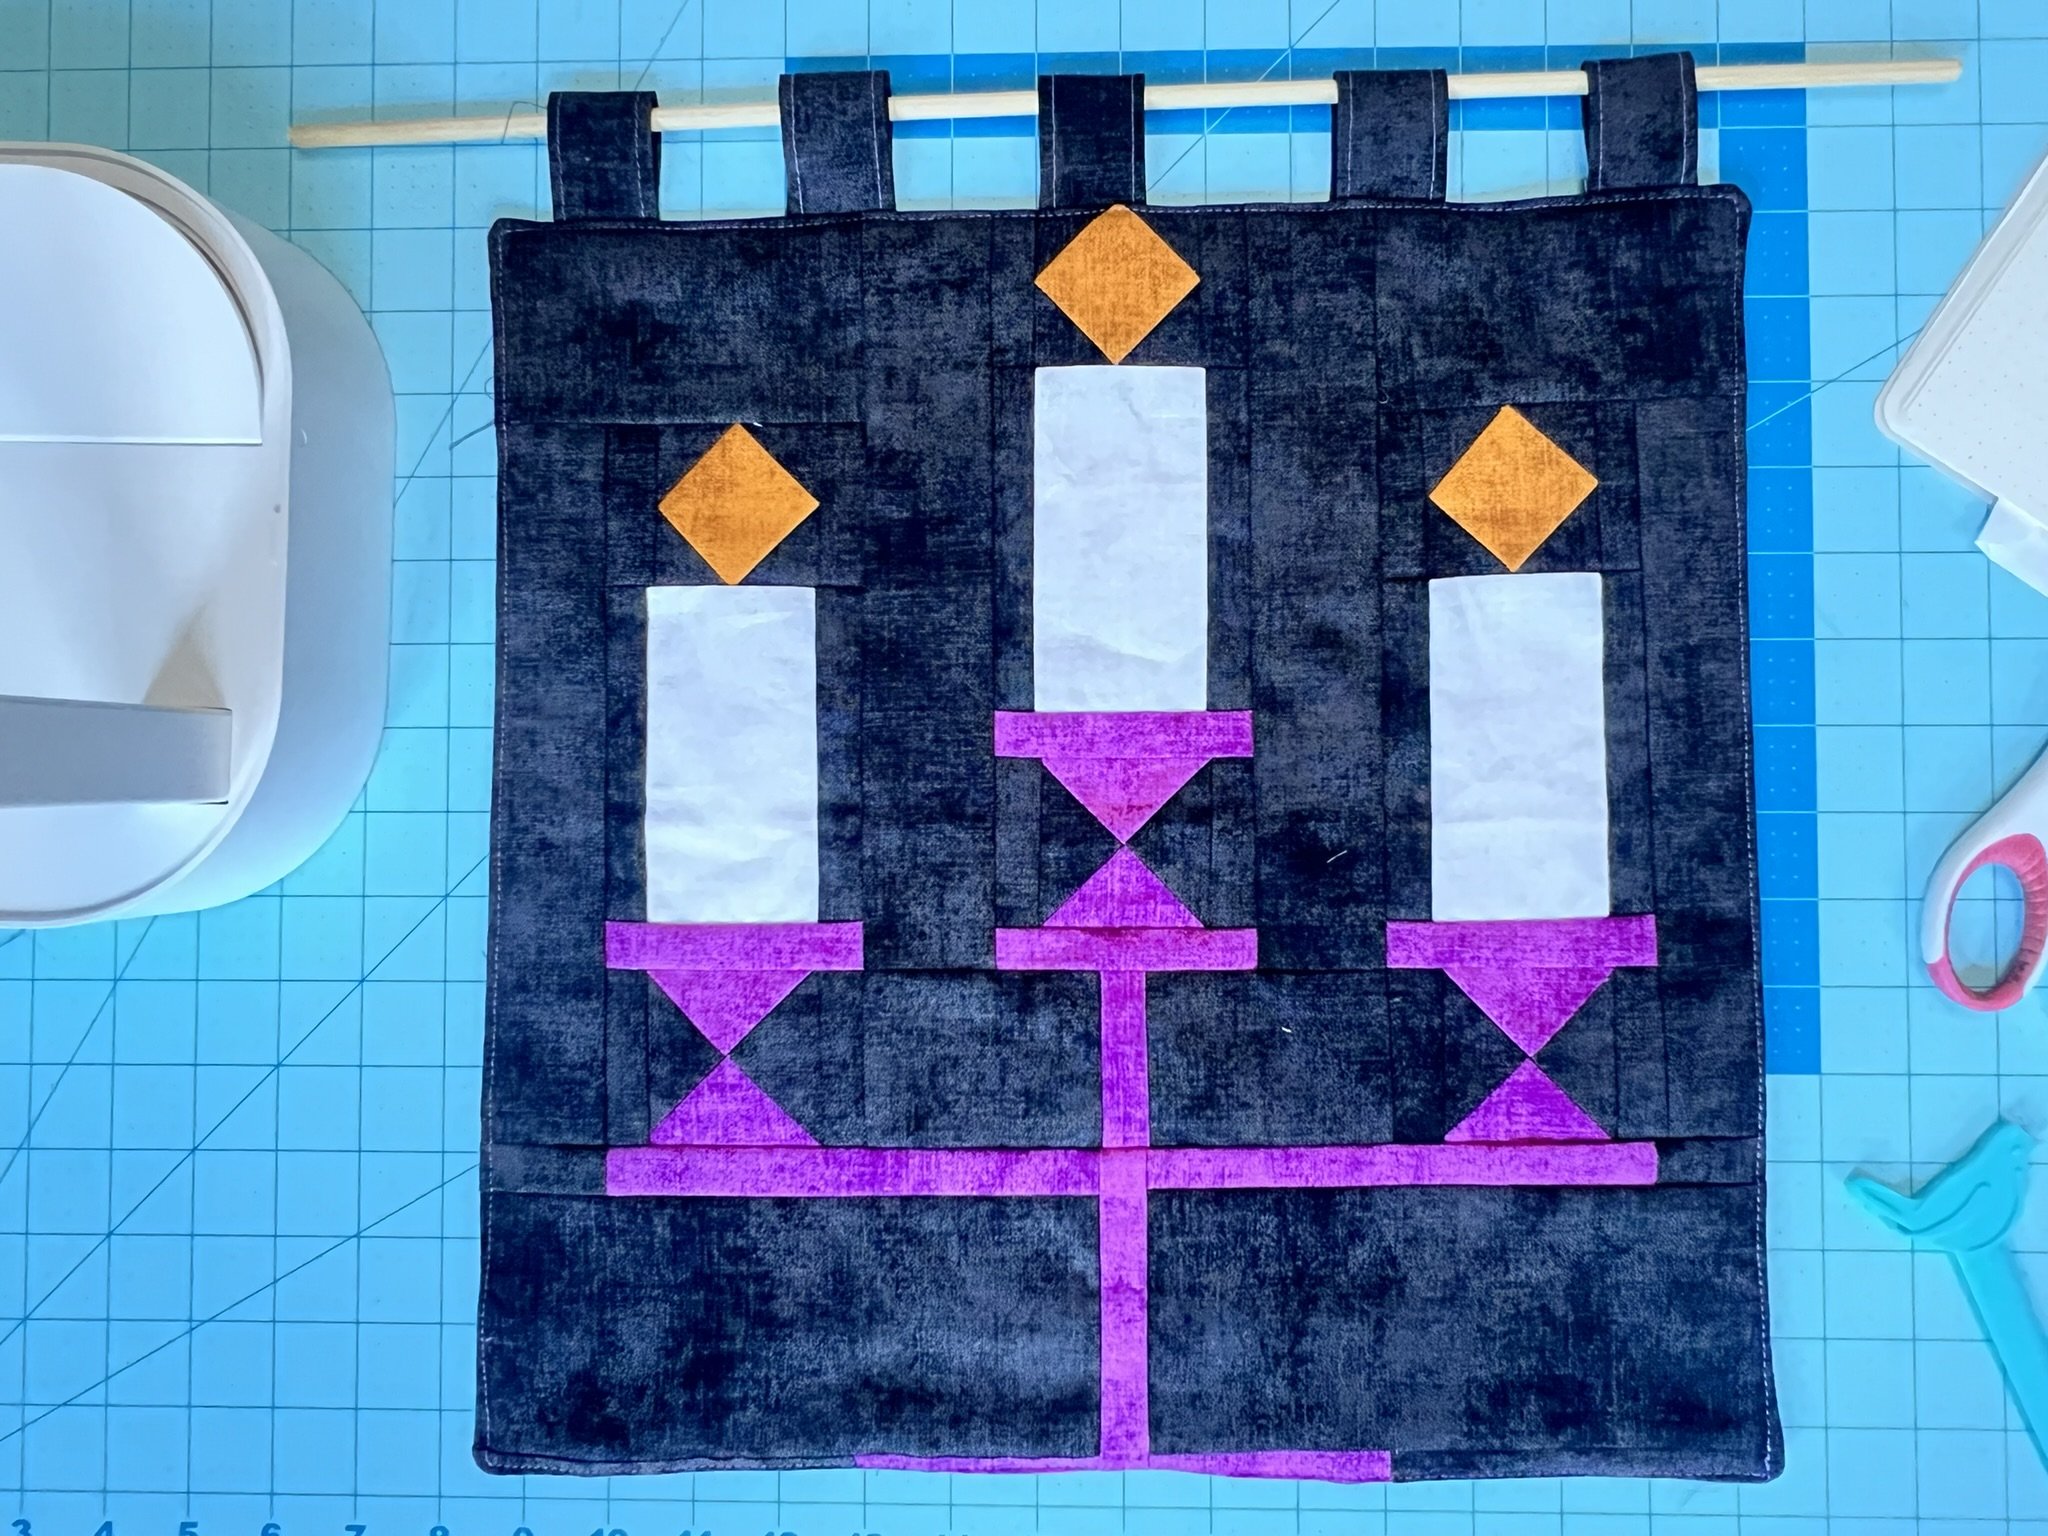
Show off your spooky side with this step-by-step tutorial of how to turn your Spooky Season Sampler quilt blocks into a double sided wall hang.
Here’s what you need to get started:
SUPPLIES
Five (5) 4” x 3” scrap pieces for hanging tabs
One (1) 15 1/2” square scrap batting
One (1) 18” wooden dowel, 1/2” width
40” of 3/8 inch twisted cord trim (or any other rope like cording)
TOOLS
Sewing Machine
Scissors and/or Snips
Ruler
Straight Pins or Clips
Iron and Pressing Mat
Assembly Steps
Begin by making the hanging tabs. With one 4” x 3” tab, press in half, matching the long sides with wrong sides together. Open the piece and then press the edges in to a 1/4” crease. Clip to secure. Repeat with the other side. Fold the piece together to make a 4” x 1” strip.
Repeat with all pieces to make five hanging tabs.
Topstitch 1/8” away from the edge of the hanging tabs, securing the folded in flaps. Repeat on either side. I used a contrasting purple thread to give it a bit of fun! Repeat for all five hanging tabs.
Sandwich together two panels. I used the Boo-Ya block by Cotton and Joy and my Flickers at Midnight block. Layer one block right side up, then the second block right side down, and then the square batting piece. Be sure that the correct orientation of the quilt blocks are together (i.e., the top with the top, the bottom with the bottom). Finger press the hanging tabs in half, with the raw edges together. Insert the tab in between the quilt block panels with the raw edge aligning with the raw edge of the quilt blocks and pin or clip in place. Repeat with all five tabs, spacing them at equal distances across the top of the quilt blocks.
Clip or pin the edges together to keep the pieces from shifting. Measure a 3” - 4” space at the bottom center of the piece. This will be the opening where you will turn it right side out. Sew all together all of the layers around the perimeter of the block using a 1/4” seam allowance, being sure to leave the open space at the bottom. It is helpful to backstitch a few stitches at the stop and start to ensure the threads don’t unravel.
Trim each corner to reduce bulk, being careful to not cut over the stitch line. Pull the outside of the panels through the opening at the bottom of the piece to turn it right side out. Push through each corner to bring them to a point. It can be helpful to use a point pusher like this fancy little bird guy from Riley Blake Designs.
Turn the opening in on itself, mimicking the 1/4” seam allowance and pin or clip closed. Topstitch around the entirety of the quilt block approximately 1/8” from the edge, securing the opening as you go. Be sure to backstitch at the start and stop to secure threads.
Thread the wooden dowel through the hanging tabs. Tie the cord trim edge at the edge of the dowel. You can elect to add a dab of hot glue to keep it from unraveling, but you won’t be able to untie it if so (just in case you want to trade out hangings for each season!). Tie the ends of the cord trim to each side of the dowel, then find the center and knot it at desired length.
Congratulations on completing your Spooky Season Wall Hanging!
Your walls never looked more festive!
Share your progress and makes on social media using the #SarahJeanMakes hashtag and tag me at @SarahJeanMakes so I can cheer you on!


